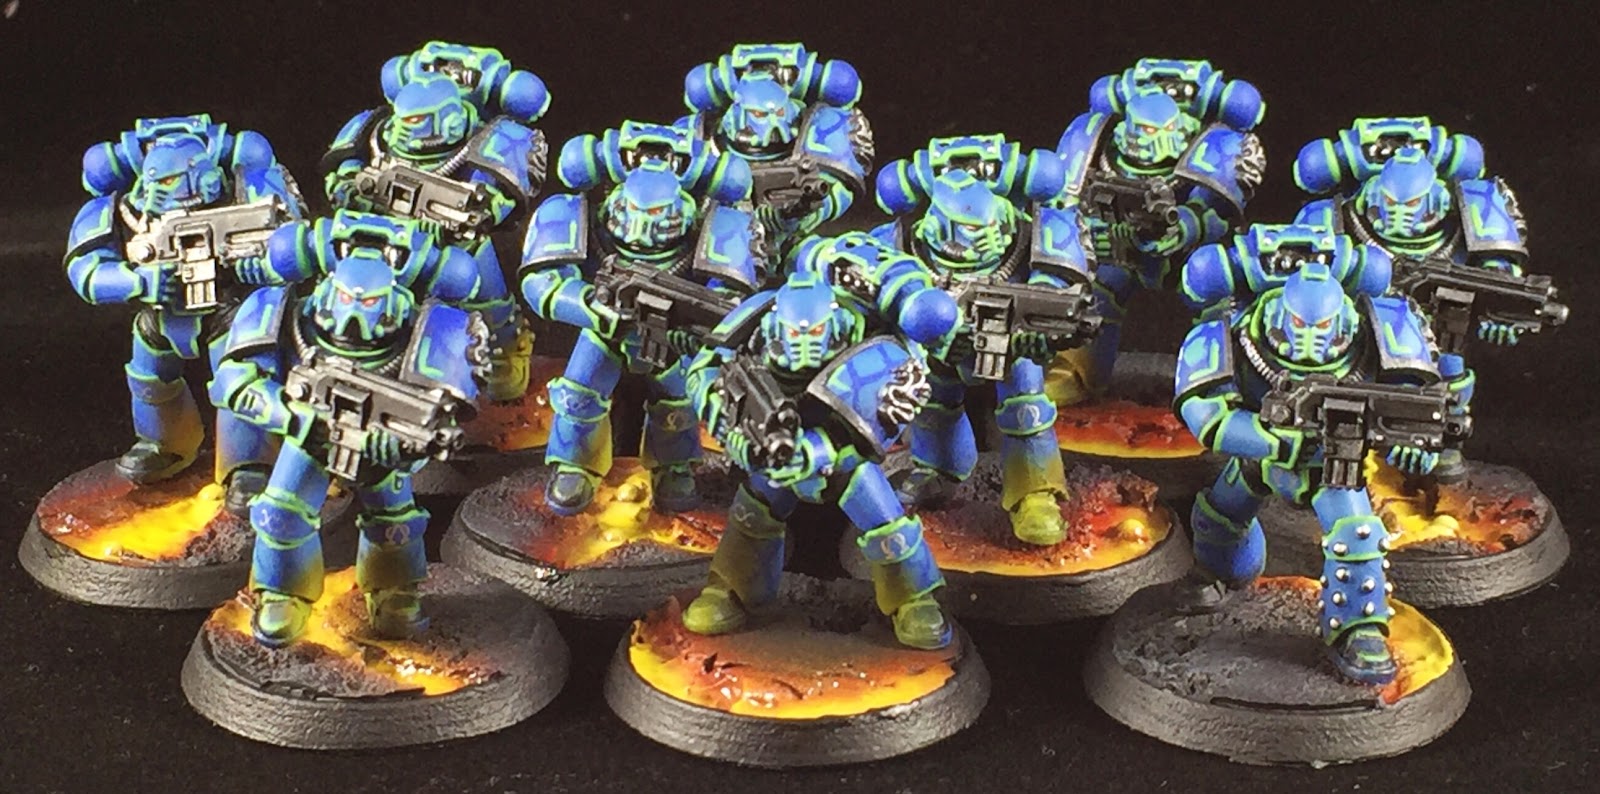
 This marks the beginning of my new army project for the upcoming year. I've signed myself up for two different hobby progress challenges to give myself smaller rolling deadlines. My January project is to finish up the squad of Tactical Marines from Forgeworld that have been on my project to do list for over a year. I opted for a different paint style than what has become the wildly popular Alpha Legion paint scheme. The metallic washed/airbrushed with a Blue and Green glaze. I wanted something to expand my painting skills with. My last project featured the use of decals for the first time. The project before that was using edge highlights for the first time. I've brought both those elements into this one, to expand my practice with them. Really the key new element is OSL lighting from the base onto the models. Going with a Blue/Green color scheme on the models themselves I wanted a base to really pop with them. Being a Horus Heresy 30k army built from Forgeworld kits I opted to do a different style base that would match the army rather than the same base system I use with everything else.
Today I'm going to spend go over the technique of the base. The next On The Table will go over the painting of the army itself. It took me a couple tries to get the lava base to come out right. The first time I used the red/orange/yellows from Badger's Minitaire line. When I was all done, the base just looked dusty and dull. It wasn't vibrant nor, bright. I ordered up some airbrush paints from Vellejo and I was able to get a much brighter color. The base red of Nebula red from Minitaire is awesome. It is a vibrant bright red and layers down over black nice with a couple coats. The over-spray is subtle enough that it provides the beginning of OSL to the base itself. I give the lave area a giid coating. Applying 2-3 coats to get a solid and rich red coloring down. I pre-prep the base by dry brushing in a mix of 50/50 black and Reaper Storm grey over the black primed base. Then a last drybrush of Storm grey. Over the Nebula Red I put down a coat of Vellejo Hot Orange. at this stage I try and ovoid over-spray. In some narrow sections it happens and I let it. We are going for a natural look so soft edges are important. I thin mix in some Gold Yellow (also Vellejo), letting the last bits of Hot orange mix with it. This gives a good yellow/orange tone. Over this I come back with a narrow band of White in the center of each lava mass and across bubbles. Lastly I hit the white areas with Moon Yellow. Yellow being so transparent typically (especially for a bright yellow). This gives a good vibrant lava but its still missing something.
The secret sauce to bright lava is to remember it is liquid. So we need a nice wet look for it, and nothing makes a model look wet like a good gloss coat. Once I finished painting the whole model, assembled it (more on that next time) and sealed everything with Testor's dull coat, I go back and brush on some gloss coat over the lava. It gives it that vibrant wet look. That is everything for today. Until next time.